 Azure Batch Task Runner
Available on: Enterprise EditionCloud>= 0.18.0
Run tasks as containers on Azure Batch VMs.
How to use the Azure Batch task runner
This task runner deploys a container for the task in a specified Azure Batch pool.
To launch a task on Azure Batch, there are two main concepts to understand:
- Pool — mandatory; not created by the task. This is a pool composed of nodes where your task can run.
- Job — created by the task runner; contains information about which image, commands, and resources to use.
How the Azure Batch task runner works
To support inputFiles, namespaceFiles, and outputFiles, the Azure Batch task runner relies on resource files and output files, which transit through Azure Blob Storage.
Since the working directory of the container is not known in advance, you must explicitly define both the working directory and the output directory when using the Azure Batch runner. For example, use cat {{ workingDir }}/myFile.txt rather than cat myFile.txt.
A full flow example
id: azure_batch_runner
namespace: company.team

variables:
  poolId: "poolId"
  containerName: "containerName"

tasks:
  - id: scrape_environment_info
    type: io.kestra.plugin.scripts.python.Commands
    containerImage: ghcr.io/kestra-io/pydata:latest
    taskRunner:
      type: io.kestra.plugin.ee.azure.runner.Batch
      account: "{{ secret('AZURE_ACCOUNT') }}"
      accessKey: "{{ secret('AZURE_ACCESS_KEY') }}"
      endpoint: "{{ secret('AZURE_ENDPOINT') }}"
      poolId: "{{ vars.poolId }}"
      blobStorage:
        containerName: "{{ vars.containerName }}"
        connectionString: "{{ secret('AZURE_CONNECTION_STRING') }}"
    commands:
      - python {{ workingDir }}/main.py
    namespaceFiles:
      enabled: true
    outputFiles:
      - "environment_info.json"
    inputFiles:
      main.py: |
        import platform
        import socket
        import sys
        import json
        from kestra import Kestra

        print("Hello from Azure Batch and Kestra!")

        def print_environment_info():
            print(f"Host's network name: {platform.node()}")
            print(f"Python version: {platform.python_version()}")
            print(f"Platform information (instance type): {platform.platform()}")
            print(f"OS/Arch: {sys.platform}/{platform.machine()}")

            env_info = {
                "host": platform.node(),
                "platform": platform.platform(),
                "OS": sys.platform,
                "python_version": platform.python_version(),
            }
            Kestra.outputs(env_info)

            filename = 'environment_info.json'
            with open(filename, 'w') as json_file:
                json.dump(env_info, json_file, indent=4)

        if __name__ == '__main__':
          print_environment_info()
For a full list of properties available in the Azure Batch task runner, see the Azure plugin documentation or view them in the built-in Code Editor in the Kestra UI.
Full step-by-step guide: setting up Azure Batch from scratch
Before you begin
Before starting, ensure you have the following:
- A Microsoft Azure account.
- A Kestra instance (version 0.16.0 or later) with Azure credentials stored as secrets or environment variables.
Azure portal setup
Create a Batch account and Azure Storage account
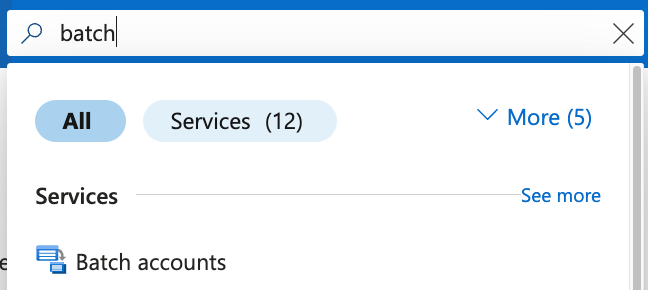
Once logged into your Azure account, search for Batch accounts and select the first option under Services.
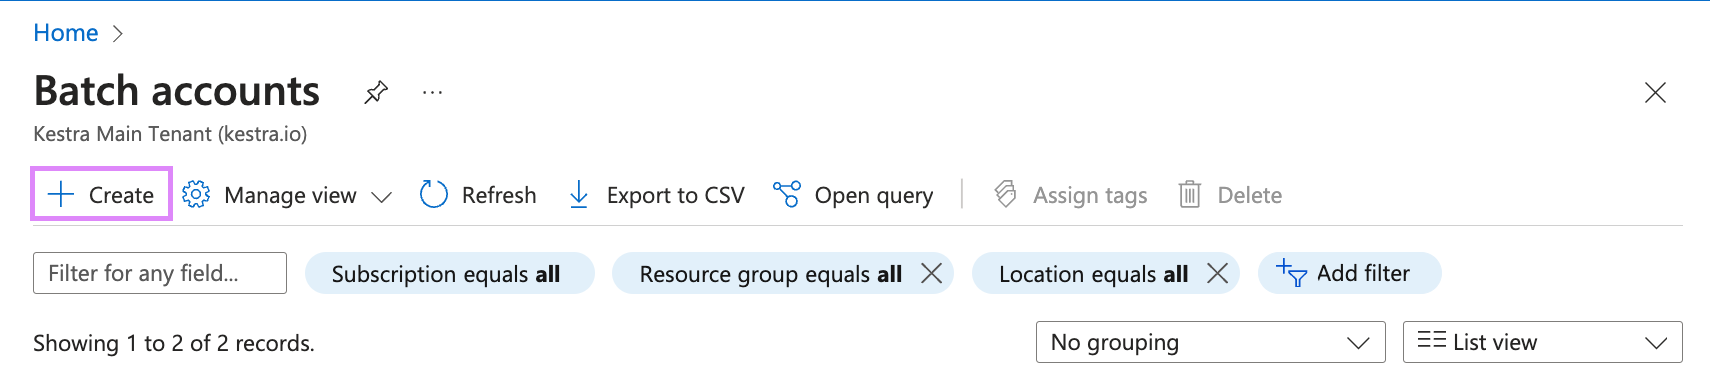
On that page, select Create to make a new account.
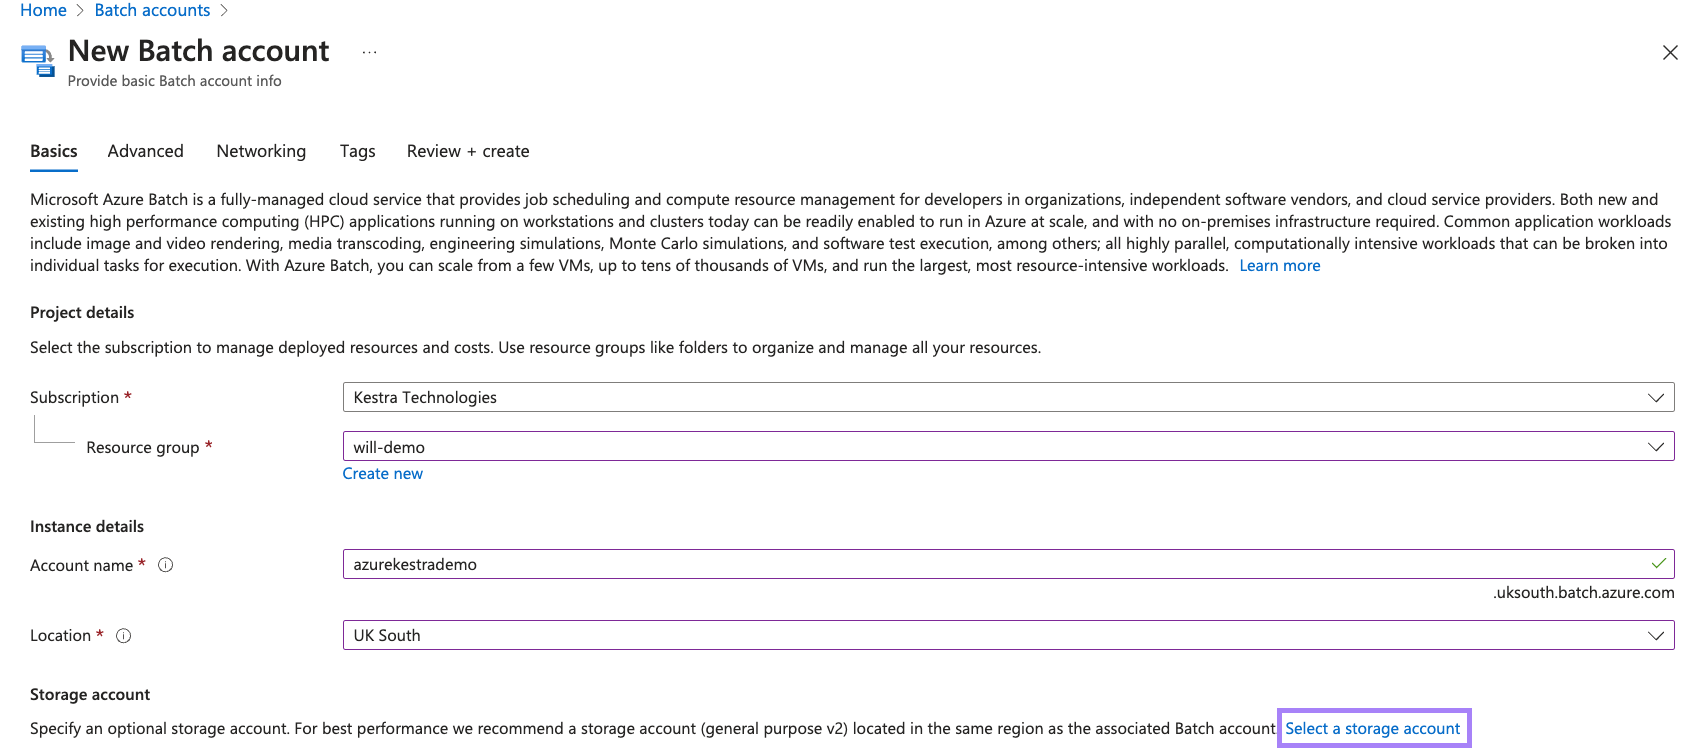
Select the appropriate resource group, then fill in the Account name and Location fields. Next, click Select a storage account.
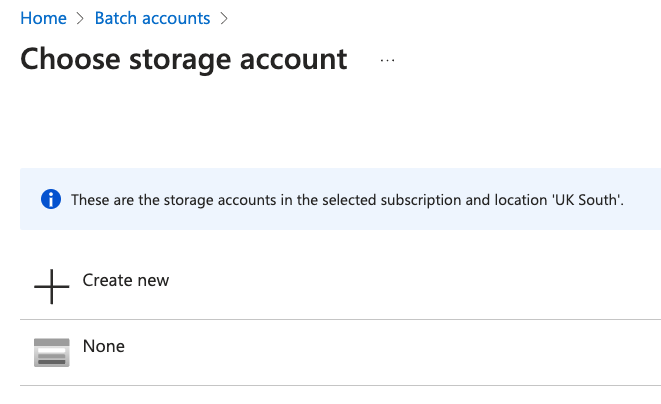
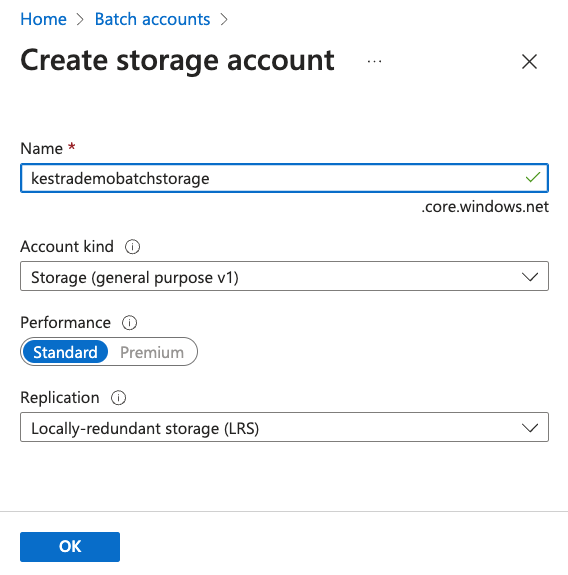
If you don’t have an existing storage account, click Create new and type a name (e.g., mybatchstorage). Leave the other settings as defaults and select OK.
After the details are filled, click Review + create and then Create to finish creating the Batch account.

Once the account is created, you’ll see a Deployment succeeded message. Select Go to resource to open the account.
Create a pool
With your Batch account ready, you can create a pool of compute nodes in which Kestra will run tasks.
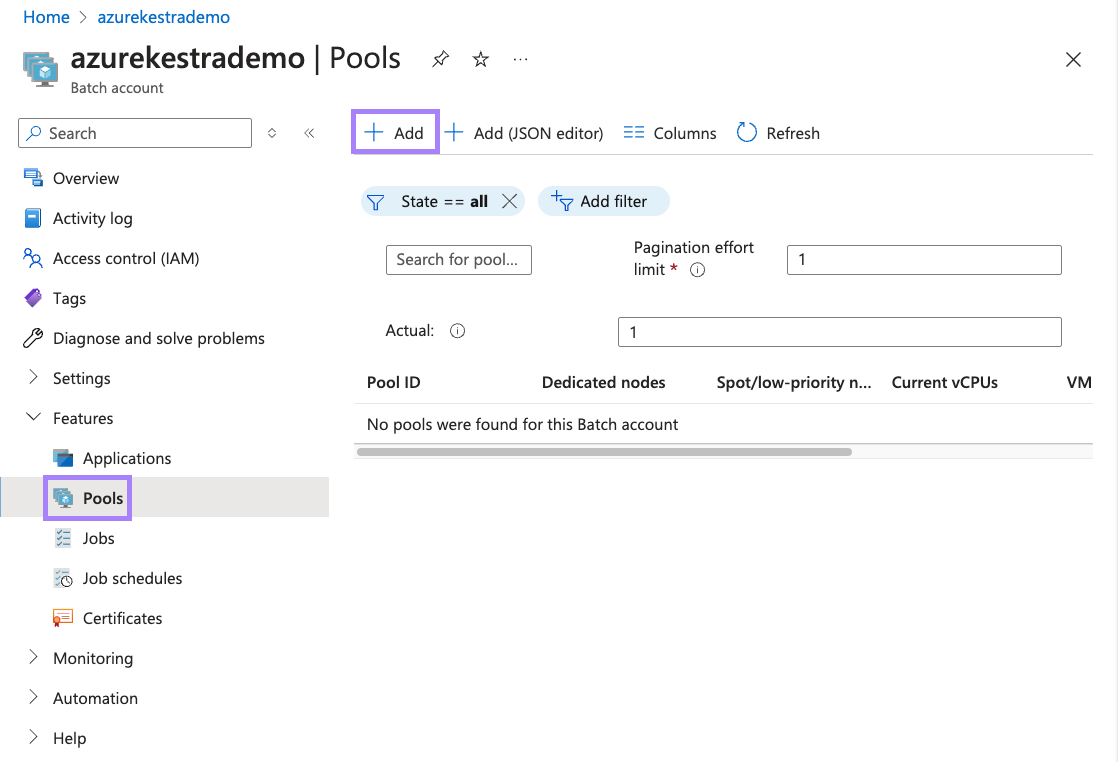
On the Batch account page, select Pools from the left navigation menu, then click Add at the top.
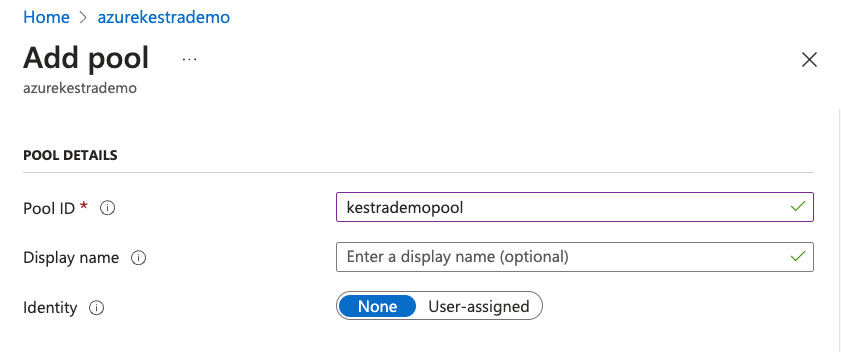
On the Add pool page, enter a Pool ID.
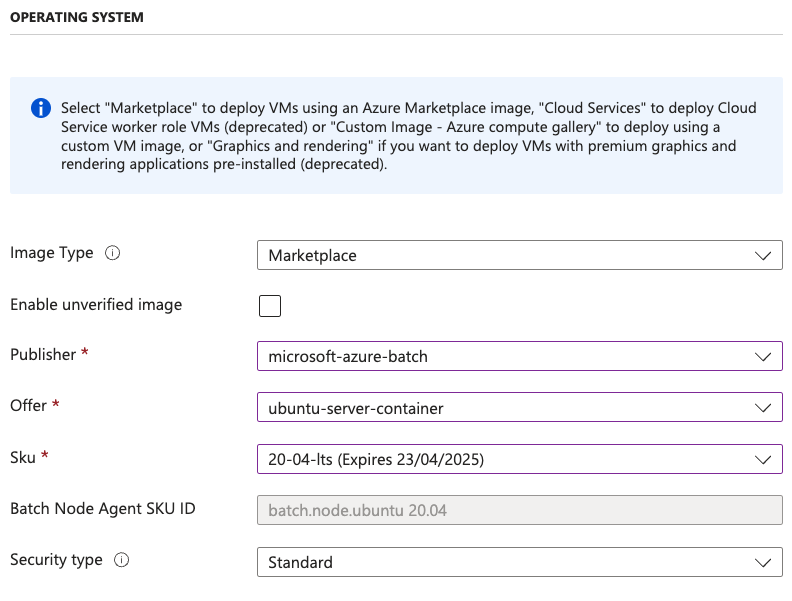
Under Operating System:
- Select Publisher:
microsoft-azure-batch - Select Offer:
ubuntu-server-container - Select Sku:
20-04-lts
Scroll to Node size and select Standard_A1_v2, which provides 1 vCPU and 2 GB of memory. Enter 2 for Target dedicated nodes.
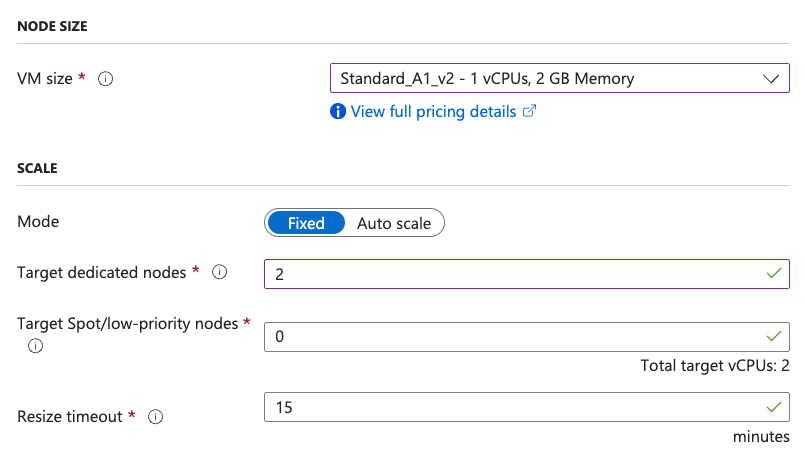
Once complete, select OK to create the pool.
Create an access key
In your Batch account, go to Settings → Keys. Generate a new set of keys. You will need:
Batch accountforaccountAccount endpointforendpointPrimary access keyforaccessKey
Create blob storage
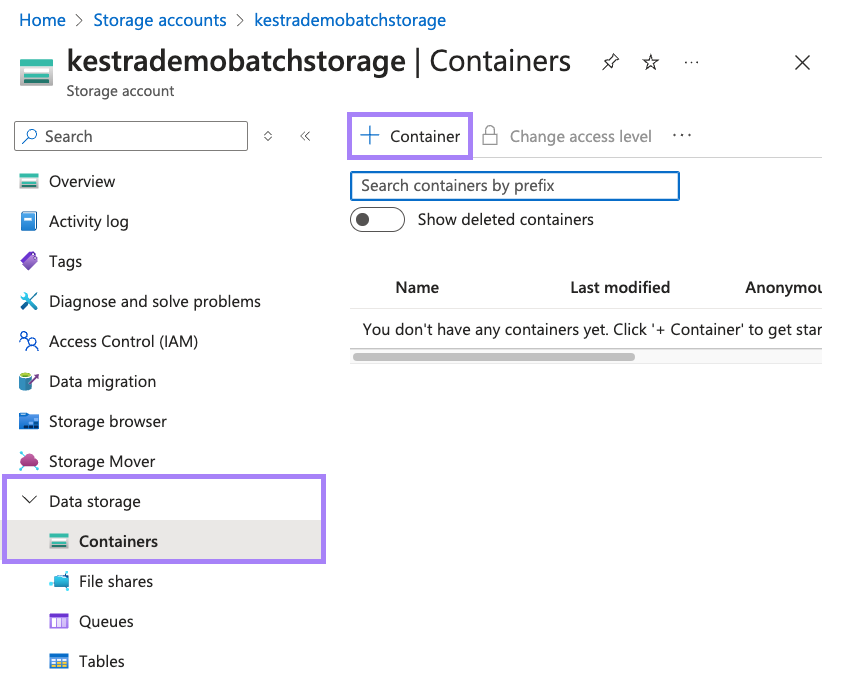
Search for Storage accounts and select your newly created account. Under Data storage, select Containers, then click + Container to make a new one.
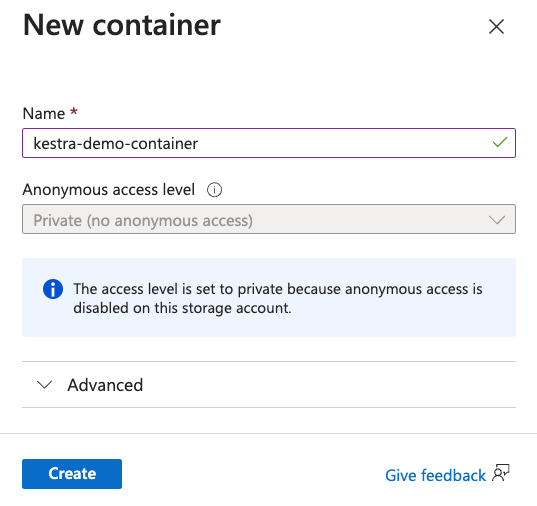
Enter a name for the container and select Create.
Now that you’ve created your Batch account, storage account, pool, and container, you can create your flow in Kestra.
Creating your flow
Below is an example flow that runs a Python file called main.py on an Azure Batch task runner. At the top of the io.kestra.plugin.scripts.python.Commands task, you’ll define the task runner properties:
containerImage: ghcr.io/kestra-io/pydata:latest
taskRunner:
  type: io.kestra.plugin.ee.azure.runner.Batch
  account: "{{ secret('AZURE_ACCOUNT') }}"
  accessKey: "{{ secret('AZURE_ACCESS_KEY') }}"
  endpoint: "{{ secret('AZURE_ENDPOINT') }}"
  poolId: "{{ vars.poolId }}"
  blobStorage:
    containerName: "{{ vars.containerName }}"
    connectionString: "{{ secret('AZURE_CONNECTION_STRING') }}"
Here you can provide Azure details such as account, accessKey, endpoint, poolId, and blobStorage. These can be added as secrets and variables.
id: azure_batch_runner
namespace: company.team

variables:
  poolId: "poolId"
  containerName: "containerName"

tasks:
  - id: get_env_info
    type: io.kestra.plugin.scripts.python.Commands
    containerImage: ghcr.io/kestra-io/pydata:latest
    taskRunner:
      type: io.kestra.plugin.ee.azure.runner.Batch
      account: "{{ secret('AZURE_ACCOUNT') }}"
      accessKey: "{{ secret('AZURE_ACCESS_KEY') }}"
      endpoint: "{{ secret('AZURE_ENDPOINT') }}"
      poolId: "{{ vars.poolId }}"
      blobStorage:
        containerName: "{{ vars.containerName }}"
        connectionString: "{{ secret('AZURE_CONNECTION_STRING') }}"
    commands:
      - python {{ workingDir }}/main.py
    namespaceFiles:
      enabled: true
    outputFiles:
      - "environment_info.json"
    inputFiles:
      main.py: |
        import platform
        import socket
        import sys
        import json
        from kestra import Kestra

        print("Hello from Azure Batch and Kestra!")

        def print_environment_info():
            print(f"Host's network name: {platform.node()}")
            print(f"Python version: {platform.python_version()}")
            print(f"Platform information (instance type): {platform.platform()}")
            print(f"OS/Arch: {sys.platform}/{platform.machine()}")

            env_info = {
                "host": platform.node(),
                "platform": platform.platform(),
                "OS": sys.platform,
                "python_version": platform.python_version(),
            }
            Kestra.outputs(env_info)

            filename = 'environment_info.json'
            with open(filename, 'w') as json_file:
                json.dump(env_info, json_file, indent=4)

        if __name__ == '__main__':
          print_environment_info()
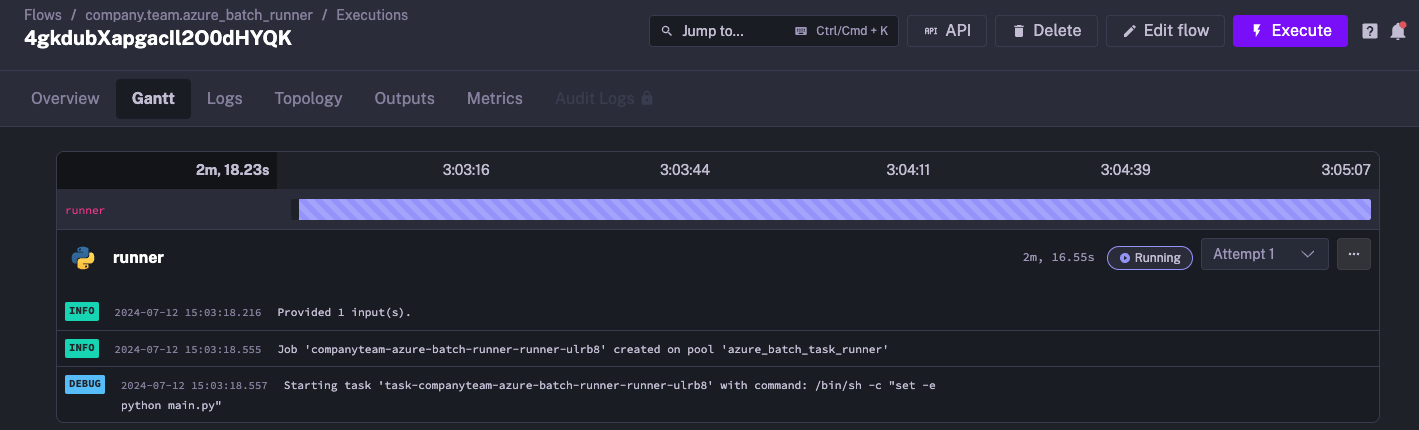
When you execute the flow, you can see the task runner logs in Kestra:
You can also view the created task runner in the Azure Portal:
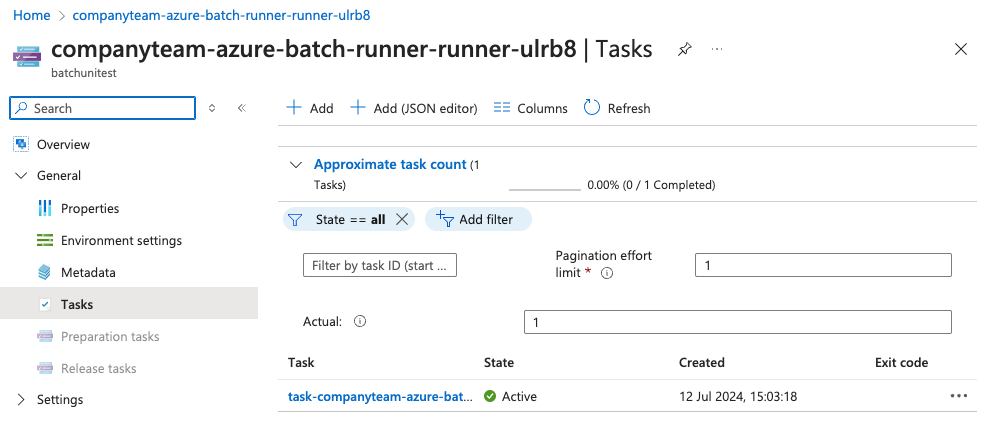
Once the task is complete, Azure automatically shuts down the runner.
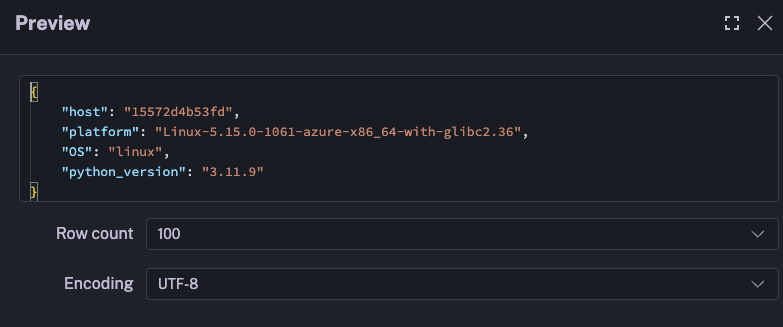
You can view the generated outputs in the Outputs tab in Kestra, which includes the information produced by the Azure Batch task runner from the Python script:
Was this page helpful?